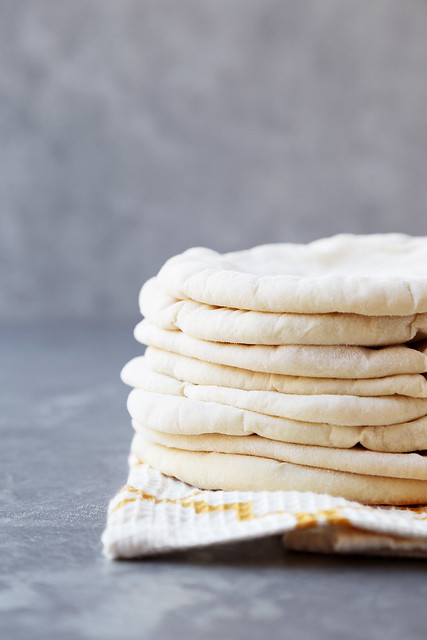
When it comes to certain ingredients or products, I’ve often been the first one to say something like, “Why should I make this at home when it’s so much easier to buy at the grocery store?” But I’m no Rockefeller, so I think it’s smart to start saving wherever and whenever I possibly can. Suze Orman would be proud. Pita bread was on that list for me, that is until recently when I decided to be like Martha Stewart (just for a day) and make it from scratch. I found a great recipe online at The Kitchn and braved my fear of never making pita from scratch before and pushed through. Am I allowed to say that this is the best pita bread I’ve ever eaten? I might be slightly biased, but have no fear, I won’t let it get to my head. I promise.
The next step for me was to decide what to do with all of this fluffy luscious homemade pita I now had lying around. Aside from sandwiches or wraps or just shoving it into my mouth as quickly as possible, I thought the next best thing to do is to use it as a vessel for cheese because cheese and bread are meant to be together forever. Why try to fight it? I’m no fool, and you shouldn’t be one either. I came across an interesting, yet delicious looking recipe for broiled feta from Martha Stewart’s Appetizers. I never heard of it before but it reminded me of my mamma because she would fry up cotija cheese for me as a kid until it looked just like this broiled feta. If you’ve never tried either before, you’re missing out because it’s warm, salty, and crispy and it’s absolutely delicious. If you’re looking for a great appetizer that you can whip up in no time and will make you look like you know everything when in reality you only pretend to know something (I’ve invented this type of look), then look no further because this is the appetizer for you. Chances are, you already have all of these ingredients on hand, so no need to stress.
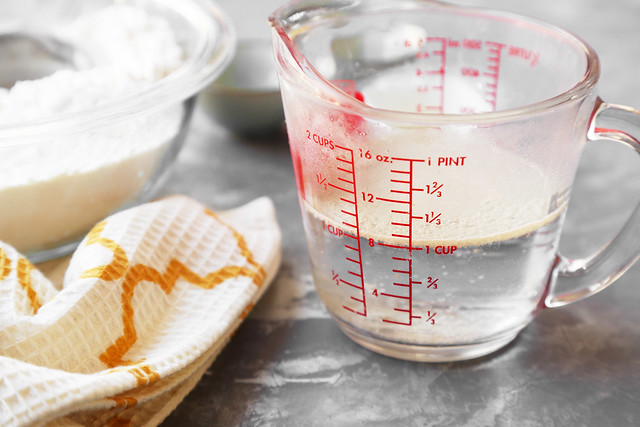
This recipe starts like any other yeast bread. We have to wake up that active dry yeast in a some warm water. Allow the yeast and water to sit for about 10 minutes to do its thing.
**Note: Make sure the water is warm to the touch. Not boiling or hot, but also not cold. I always say that the perfect temperature is when you can dip a finger into the water and it be comfortably warm.**
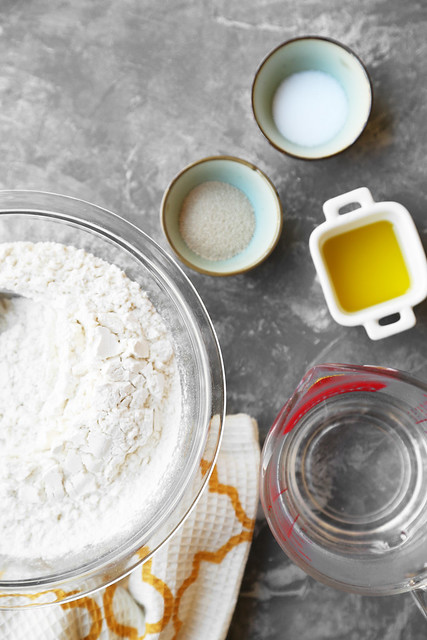
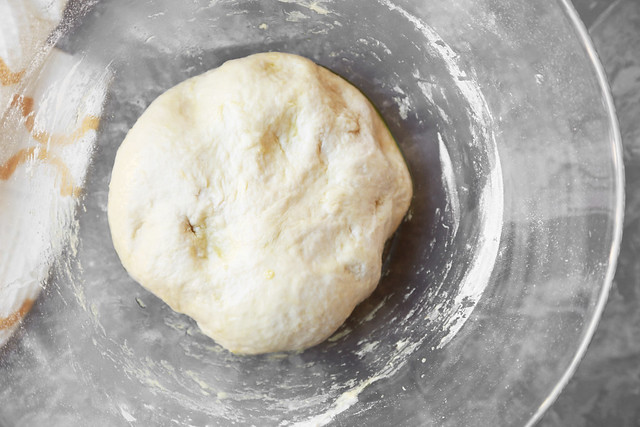
In a large bowl, combine the flour, salt, olive oil, and yeast mixture.
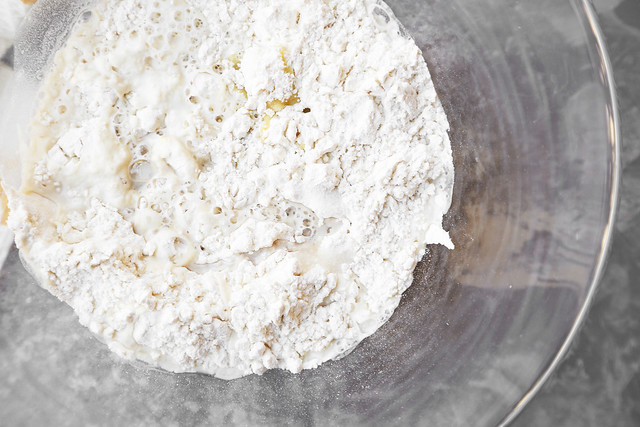
Stir with a wooden spoon until the dough comes together in a rough and scraggly looking ball. Transfer to a floured work surface and knead in as much of the remaining flour as needed to form a smooth dough.
**Tip: You can also just mix the dough using an electric mixer with the dough hook. Knead on high until the dough is smooth, about 5 to 8 minutes.**
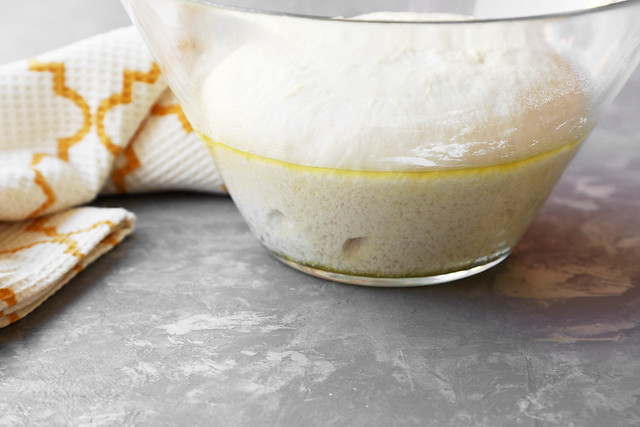
Cover loosely with plastic wrap and a damp kitchen towel and place in a warm draft-free spot. Allow to rest and double in size, about 1 to 2 hours.
**Tip: The best place for this is in an oven that is turned off or above the fridge, so move those cereal boxes and make some space.**
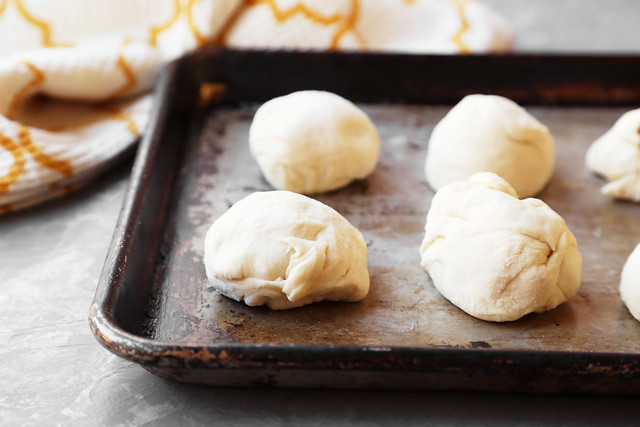
Once ready, punch the dough down and transfer to a lightly floured work surface. Knead a few times and then cut in 8 even pieces. Transfer to a baking sheet and then cover loosely with a kitchen towel.
Preheat the oven to 450ºF along with a baking stone set in the center rack.
**Tip: If you don’t have a baking stone, you can cook the pitas on a cast iron skillet on the stove. Heat a large cast iron skillet over medium-high heat.**
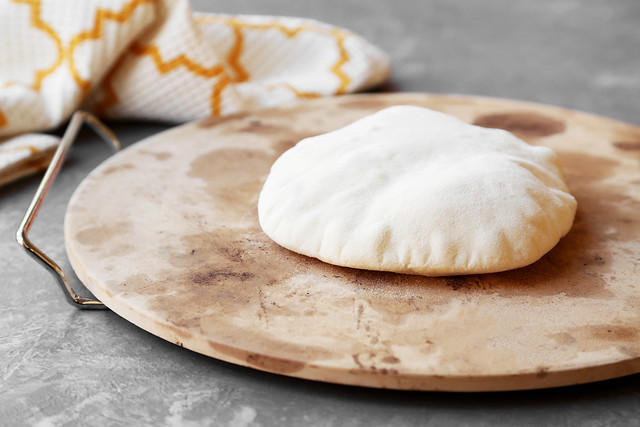
Working with one piece of dough at a time, roll each dough out into an 8 to 9-inch circle on a well-floured work surface. Then place the dough directly onto the hot pizza stone or cast iron skillet. Cook until fully puffed up.
Transfer the puffed pita onto kitchen towel and wrap with the towel to allow to steam within the towel. Continue cooking the pita in this manner until they’re all done.
Now that the pita bread is done, let’s focus on the charred feta. It’s super simple. The hardest part of this post is the pita, although it isn’t hard at all just lots of waiting and steps, but nothing you can’t manage I’m sure.
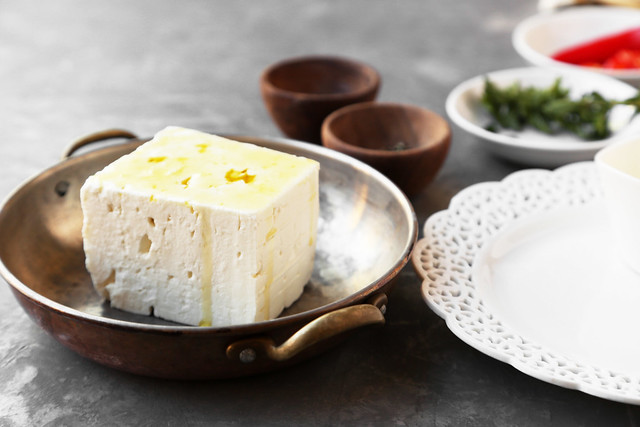
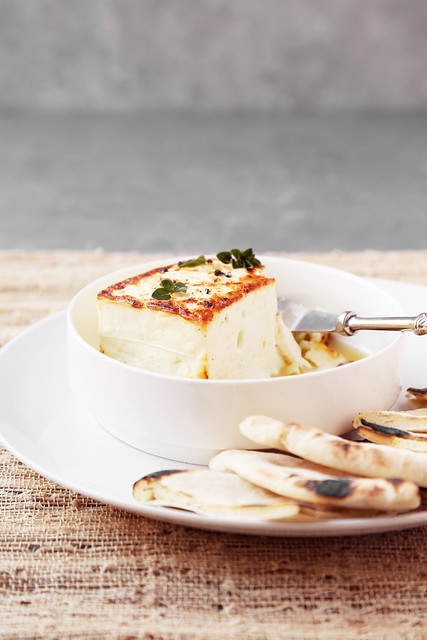
Drain the block of feta from the liquid it’s packaged in and then pat dry with paper towels. Wrap around a few paper towels and let hang out for about half an hour before proceeding. Drizzle the block of feta with a bit of oil and then place under the broiler until charred, crispy and golden on top, about 2 to 4 minutes.
**Tip: Make sure to keep an eye on the feta as it’ll burn really quickly if you don’t pay attention. That wouldn’t be good. We’re looking to warm the cheese and golden brown on top.**
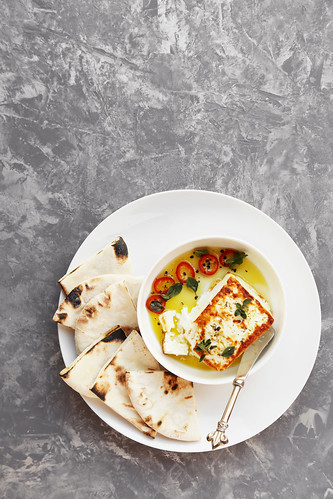
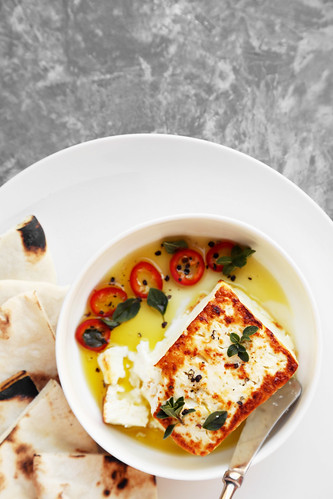
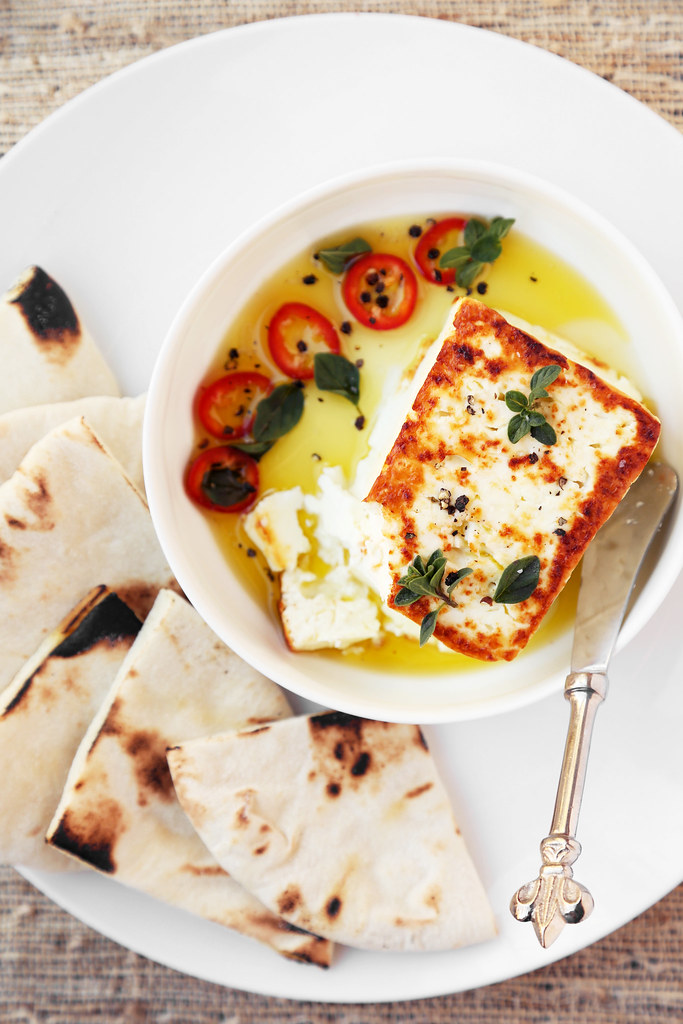
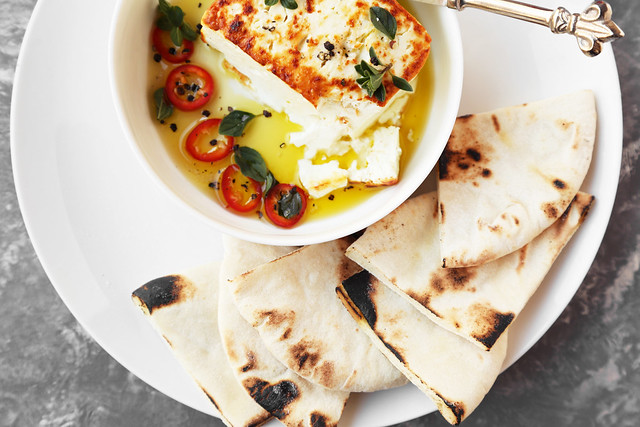
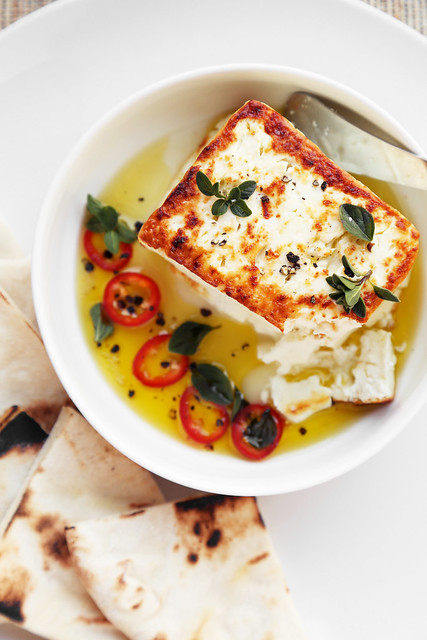
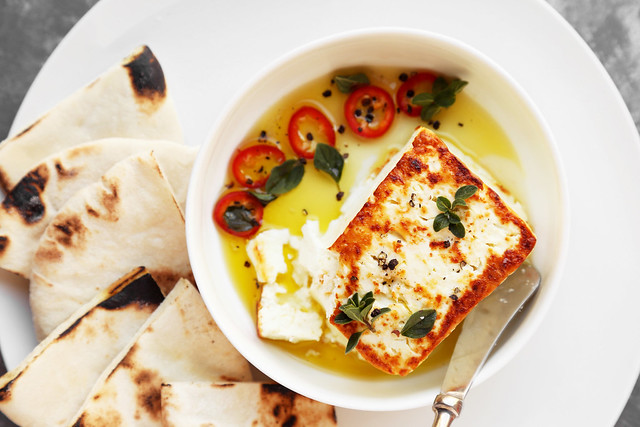
Pour a bit of olive oil onto a serve dish or platter and then transfer the feta on top. Garnish the oil with a few thinly slices of red chili pepper and a few leaves of oregano. Season the oil and cheese with salt and black pepper.

Serve the cheese with a few wedges of the pita bread. I like charring the pita on an open flame (directly on a gas burner of your stovetop is good enough) until colored on top. Cut into wedges and serve alongside the charred feta.
**Tip: If you don’t have a gas stovetop, then just warm the pita in the oven and then cut into wedges before serving.**
I was able to find the feta block at the cheese counter of my local grocery store. You should be able to find it at your big grocery store or local cheese shop without a problem.
You can easily make the pita bread a few days in advance, and just keep it stored in the fridge or at room temperature in an airtight container or large storage bag for up to 3 days. You can also freeze it for about 2 weeks. Just rewarm in the oven right before using.
**Tip: You can also just use store bought pita bread for this appetizer if you’re in a hurry or don’t have the time to make your own.**
This is a quick, easy, and super delicious appetizer that you can whip up in no time for any dinner party or gathering. It’s a great way to impress your family and friends and make them believe like you’re a master in the kitchen (because you are). Even if you think you might not like it, you’ll be very surprised. This one is a great recipe to have under your sleeve. Take it out when the time is right.

Charred Feta with Homemade Pita Bread
Ingredients
Pita Bread
- 1 cup warm water
- 2 1/4 teaspoons 1/4-ounce packet active dry yeast
- 2 1/2 to 3 cups all-purpose flour
- 2 teaspoons kosher salt
- 2 teaspoons olive oil
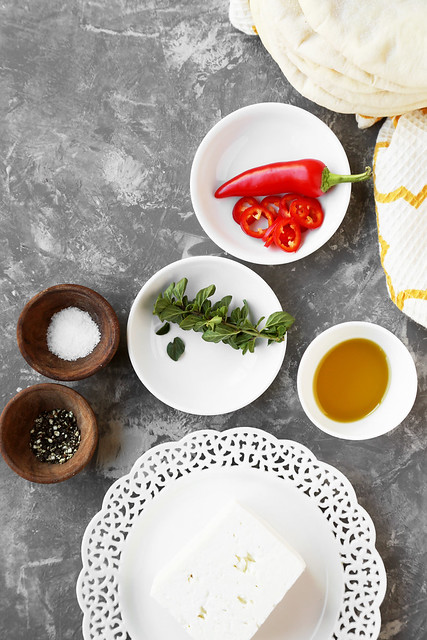
Feta
- 1 small to medium block feta cheese
- 4 tablespoons olive oil divided
- 1 small rede chili pepper thinly sliced
- 2 sprigs fresh oregano
- 1/2 teaspoon coarse salt
- 1/4 teaspoon coarse black pepper
Instructions
- In a small bowl, combine the warm water with the yeast. Set aside and let sit in a warm spot until foamy and frothy, about 10 minutes.
- In a large bowl, combine 2 1/2 cups flour, salt, olive oil and water/yeast mixture. Stir with a wooden spoon (or with a paddle attachment of an electric mixer) until the dough comes together. Transfer to a lightly floured work surface and knead by hand, kneading in the remaining 1/2 cup of flour until the dough becomes smooth and somewhat soft, about 5 to 8 minutes. You could also just knead on high in an electric mixer.
- Place the dough in a lightly oiled bowl, turning over to coat both sides, and cover loosely with plastic wrap and a damp kitchen towel. Set in a warm spot until doubled in size, about 1 to 2 hours.
- Punch the dough down, and transfer to a floured work surface. Cut into 8 even portions. Place on a baking sheet and cover with a kitchen towel. Meanwhile, preheat oven to 450 degrees F along with a baking stone set in the center.
- OR heat a large cast iron skillet over medium-high heat.
- Working with one piece of dough at a time, roll out into a 8 to 9-inch circle on a well floured work surface. Transfer the dough onto the hot baking stone or cast iron skillet. Cook until fully puffed up, about 1 to 2 minutes. Transfer to a plate and cover with a kitchen towel. Continue cooking the rest in the same manner, making sure to cover them with the kitchen towel each time. Once all of the pitas are cooked and somewhat cooled, charr on an open flame and then cut into wedges.
- To prepare the cheese, drain and then pat dry with a few paper towels. Drizzle the feta with 1 tablespoon olive oil and then set under the broiler until golden brown and crispy, about 2 to 4 minutes.
- Pour the remaining olive oil onto a platter or serving dish, and top with the sliced chili pepper and oregano leaves. Set the cheese on top of the oil and then season with a bit of salt and pepper. Serve with the warmed pita.
This is fabulous and the charred feta is indeed perfect for the pita bread. 🙂
Thank you!
This might just be my weekend soulmate! I love the charred feta idea!
It’s so good Katrina, you have to give it a try this weekend! It’s so simple!
I can totally see me serving this at my next wine tasting group.
wow wow wow, I think I want to eat this always. homemade pita and charred CHEESE – I’m dead.
Ha, I hope you give them a try soon!
the recipe, the photos – amazing!
Thank you so much!
Holy yummmmm!!!! I’ve never heard of charring feta before, but I am definitely going to give this a try! Thanks for the delicious inspiration! 🙂
Yes!! I hope you try it soon! Let me know what you think Cortney, once you do!
I also grew up eating fried cheese and I love it. Do you pat dry the feta first or just put it in the oven as is? I know when I buy feta it comes with some water.
Thank you Jonathan!
Hi Judith! You do pat it dry first and let it hang out wrapped in paper towels for about half and hour before popping under the broiler! I totally forget to add that in. I’ll write it in now. Thank you!
Absolutely delicious! I’ll never eat store-bought pita ever again. I made a batch and ate one every morning, and had to do another batch to serve for dinner. This homemade pita with the charred feta is quite addictive. But don’t worry, this bread is free of additive and preservatives, with very little fat and sugar. Thanks, Jonathan.
I have a serious problem!!! I suck at bread making. I want to figure out this recipe and succeed in making it. I am using a homemade gluten free APF (apparently it is really a good recipe-xantham gum is the gluten agent) and am trying 1/2 the recipe above so I don’t waste a lot of flour. I am reducing all the ingred. above to make my recipe. the trouble is in understanding active dry yeast. I’m now using 1 1/8 tsp of ADY in a 1/2 c. of warm water. according to this recipe you don’t add sugar so how do you activate the yeast without it? If I need the sugar to activate the yeast how much do I need? the package to make this is 5/16 yeast says “dissolve yeast in 1/4 c. warm water and 1/4 tsp sugar. ”
HELP!! 🙂