Bread has a bad reputation of being too difficult to make at home. There are some pretty nasty and vicious rumors going around that it takes way too long and requires a lot of effort (and lots of elbow grease) to make homemade bread. I’ve had just about enough of it. Those are all dirty lies. Don’t believe a word of it. It only takes a minimal amount of elbow grease. What’s more, if you have one of those fancy stand mixers or bread machines then you’re solid. You’re good to go. You’re all set. You don’t even have to break a sweat. No need to get dirty. The odds are in your favor, you should be making bread more often, what’s wrong with you?! Do you have any idea how delicious homemade bread is? Do you know what you’re missing out on? You haven’t been living if you haven’t tried warm bread fresh out of the oven, at least once in your life. But don’t worry about it. That’s all about to change. You’re about to become addicted, and I’m happy to help.
I try to make my own bread, whether it be rolls, loaves or buns, as much as I possibly can. Whenever I have the chance. Now I’m no magician, I’ll be honest with you, most often I don’t have the time to make my own bread. What with all the rising and the resting and the baking and the cooling times, I don’t think it’s always possible. I’m realistic, but when I do have the time, I make sure to bake my own bread. It’s unbelievably delicious. I can’t even begin to describe the experience to you. It’s like an out of body phenomenon. You literally get out of your own body. Okay, I might be exaggerating. Just a little bit. Don’t take my word for it though. You need to try it out for yourself, if you haven’t already. And if you have, then you know exactly what I’m talking about. Most homemade bread is actually really easy to make. Sure the kneading can be a bit tedious but it’s nothing you can’t handle, and again, these machines all the crazy kids are using these days can do all the work for you. This recipe here that we’re about to dive into is super easy. So much so that I wanted to prove it to you by making it by hand. I know I know, I’ve lost my mind. No machines allowed. Adios amigos. I’m up for the challenge.
Everything bagels are my favorite bagels. They’re the only bagels that matter, if you ask me. Of course, aside from cinnamon raisin bagels on a cold and gloomy day. Or a warm asiago cheese bagel on those days when you simply want cheese and bread and more cheese for breakfast. Okay so come to think of it, I love all bagels, but why am I harping on and on about bagels? This isn’t a bagel post (but this is). No, this is just your everyday, run of the mill, homemade burger/slider buns post. It’s not just any ol’ buns post either. This is an out of this world, blow your mind, I can’t believe Jonathan just did this, kind of post. Nothing makes sense right now, but somehow everything makes sense. Everything Slider Buns that is.
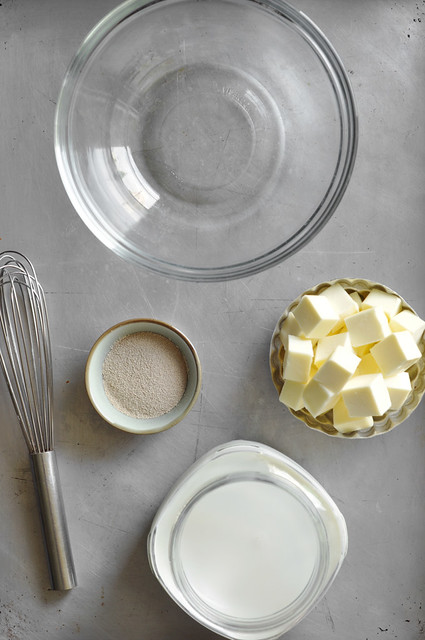
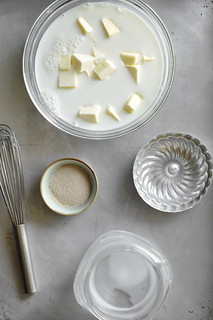
We’re going to start by waking up the yeast, it’s sleeping right now. It’s like a bear, hibernating. Active dry yeast—which is the kind of yeast we’re using, the kind that comes in those little packets—needs to be woken up with warm liquid. In this case, we’re using whole milk and melted butter. Don’t ask me if you can use skim or fat-free milk. YOU CAN’T! That’s blasphemous. You need the full fat of whole milk to make this delicious bread. Don’t fight it. Go with the flow. Unless of course you have a milk allergy of sorts then you can just use water instead. I mean, the buns won’t be as flavorful or full-bodied but it’ll work…I guess.
**Tip: You want to make sure the milk and butter are warm but not too hot that it will kill the yeast. At the same time you don’t want it to be too cold because then it won’t awaken the yeast at all. If you have a thermometer you can check the temp with that. You need the liquid to be around 105 to 115 degrees F. I like to just test the temperature with a finger, it should be warm to the touch, almost hot but not.**
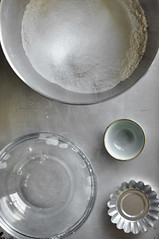
Pour the milk and diced butter into a small sauce pot and heat until the butter has melted. Then transfer to a bowl and allow to cool down for a bit, until it reaches that perfect temperature (see tip above).
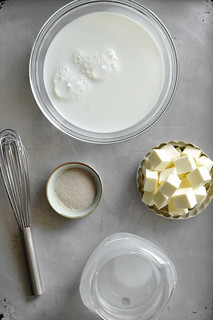

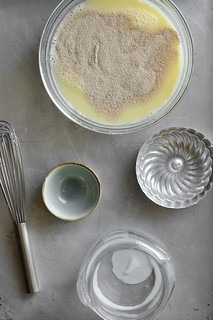
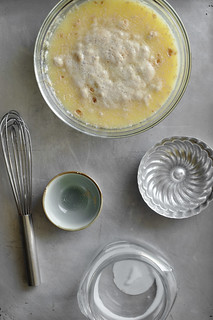
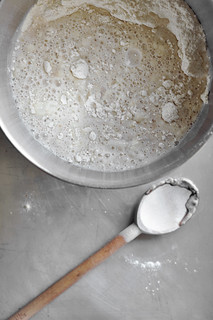
Sprinkle the yeast over the milk and butter and give it a gentle stir to dissolve. Place the bowl in a warm place and allow to sit for about 10 minutes until the yeast becomes foamy and frothy and all weird looking. Yeah I said it, all weird looking.
**Tip: When I’m waiting for dough or yeast to rest and rise and do it’s thang, I like to place it in the oven (not on of course). It’s the perfect warm dark place for such tasks. Try it out next time, you’ll be glad you did. It makes the process a lot easier and I think the rising happens a lot faster here. Or at least that’s what I tell myself.**
**Note: If you’ve waited the 10 minutes and the yeast is not frothy or foamy, then I’m sorry to tell you, but you did something wrong. Maybe the temperature of the milk wasn’t right or your yeast was old. That happens. There’s nothing you can do about it at this point. Stop crying and just toss it out and start from scratch. It’s the only way to salvage your bread. Trust me.**

Let’s turn our attention to the dry ingredients. You’re going to need a large mixing bowl. In making this bread I realized that I don’t have any large mixing bowls. I need to fix that immediately. So in the meantime, I had to use the bowl of my mixer, but I guarantee you that I didn’t use my mixer. I did this by hand. If you saw my guns in person, you’d know I mixed it by hand without a sweat. I’m totally kidding, I don’t have guns. My arms are just arms and I did break a sweat. I had to take breaks because I felt like my arms were going to fall off.
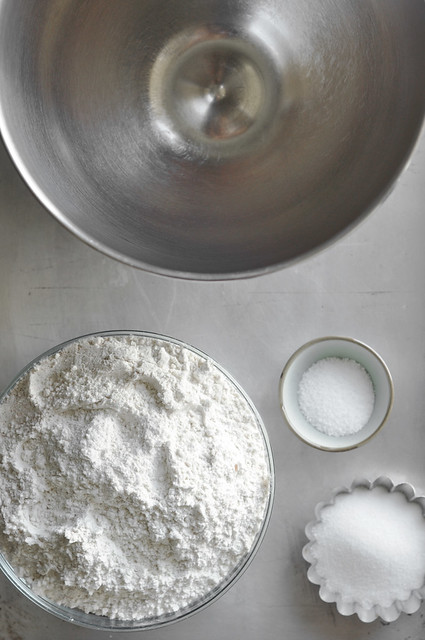
Mix together the flour (all-purpose flour is perfect), salt, and sugar. If you’re using a mixer, just dump it all into the bowl and mix with the paddle attachment. I’m trying to prove something so I’m mixing this with a wooden spoon like in the good ol’ days. I’m assuming that’s how they did it, I wouldn’t really know. Did they have wooden spoons back then? Why wouldn’t they? It’s not like wood wasn’t around. Yeah, they had wooden spoons for sure. Why are we discussing wooden spoons?


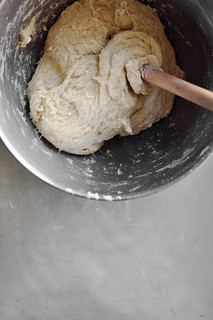
Add the yeast, milk and butter mixture to the dry ingredients and mix until the dough comes together and starts to pull away from the sides.
**Note: If you’re mixing this dough in a mixer, then switch to the dough hook at this point and knead for about 5 to 10 minutes on high until a soft dough forms and the bowl is cleaned. If you’re mixing this by hand like me, more power to us, you’ll want to stir with a wooden spoon for 3 to 6 minutes until the dough is somewhat smooth.**

Since I’m mixing the bread by hand, I’m going to stop mixing earlier and then transfer the dough to a lightly floured work surface and knead it by hand. I’ll continue to knead the dough for the remainder of the time until the dough is smooth and elastic. It should only by lightly sticky and elastic.

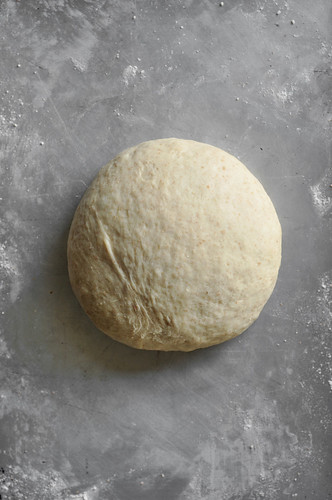
Grease the mixing bowl you used earlier with a bit of vegetable or canola oil. Plop the dough into the bowl and turn it over to coat both sides. This will prevent the dough from sticking to the bowl or the plastic wrap when you wrap it. Don’t use olive oil because that has a flavor to it and you don’t want your bread to take on that flavor. Not that it’s a bad flavor, or anything, it’s just not what we’re going for here.
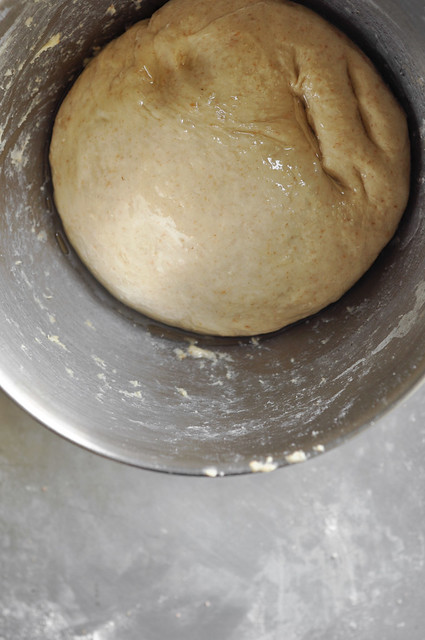
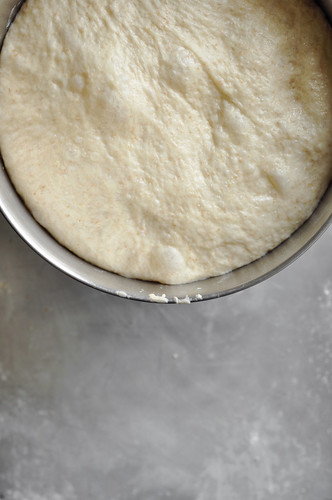
Cover the bowl tightly with plastic wrap and place a damp kitchen towel over that. Allow the dough to rest and double in size in a warm place (try that oven again) for about 1 hour. I forgot about it and remembered after two hours and the dough was still fine. So if you want, you can let it rest a bit longer, that’s cool. But why would you want to? Unless you forget like I did.
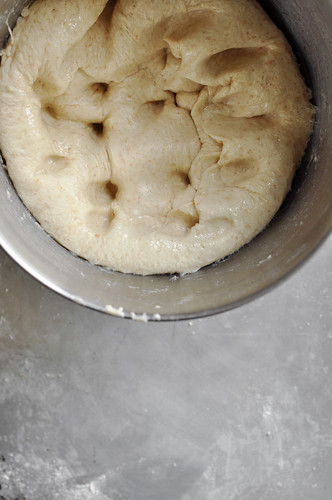
Once the dough looks like it’s swollen and has doubled in size, punch the dough down with your fingers to allow the steam to escape.
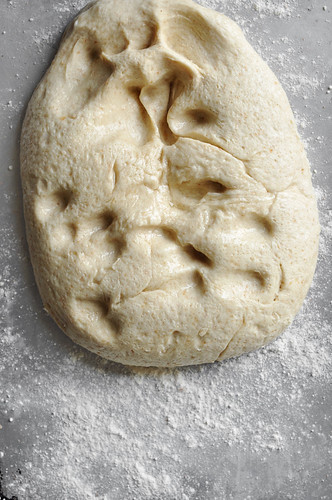
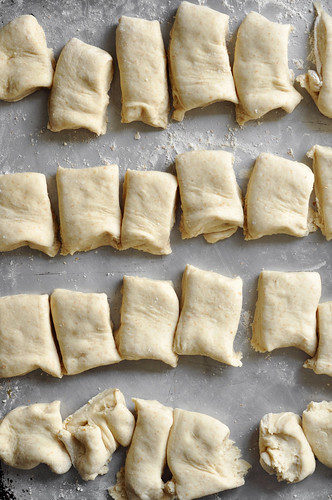
Transfer the dough to a lightly floured work surface and roll it out to a large 9-inch square about 2 inches thick. It doesn’t have to be perfectly rolled out. Don’t worry about whipping out the ruler and measuring it out precisely. I won’t say anything if you just eyeball it. Mostly because that’s what I did, and who am I to judge?

We’re then going to cut the dough into 24 pieces. I think it’s easier to cut the dough when it resembles a square or rectangle as opposed to a circle. But that’s just me.
**Note: It’s important for the pieces to be similar in size so that the buns bake at the same time and also so that they all look uniform because we’re trying to be professional here.**
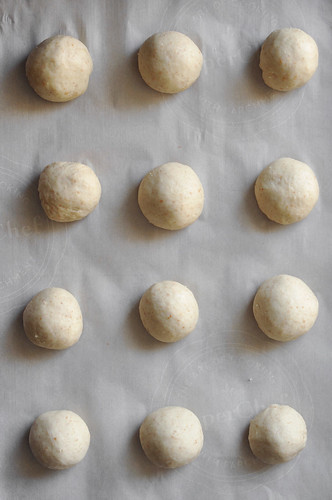
Take each square piece of dough and roll it between your hands to shape it into a tight ball. You can also roll it around with your hand on a surface to tightly shape it into a small ball.

Divide the rolled out buns onto two baking sheets, lined with parchment paper. Make sure to space them out about 2 inches apart so that they have enough space for spreading during baking. Cover tightly with plastic wrap and store in a warm place (why not try that oven one more time?) for about 30 minutes or until doubled in size. This is the last rise I promise. You’ll be devouring delicious homemade bread in no time. Patience, it’s a virtue, I hear. I wouldn’t know.
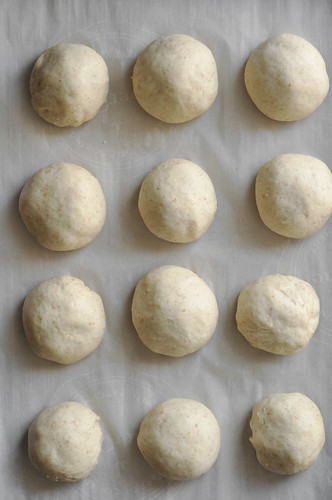
Once the dough has risen and the buns have doubled in size, we’re ready to bake them off. Well, almost ready. I’m jumping ahead of myself. Mostly because I just want to devour them already. I just want warm fresh out of the oven bread, is that too much to ask for? I don’t think so.
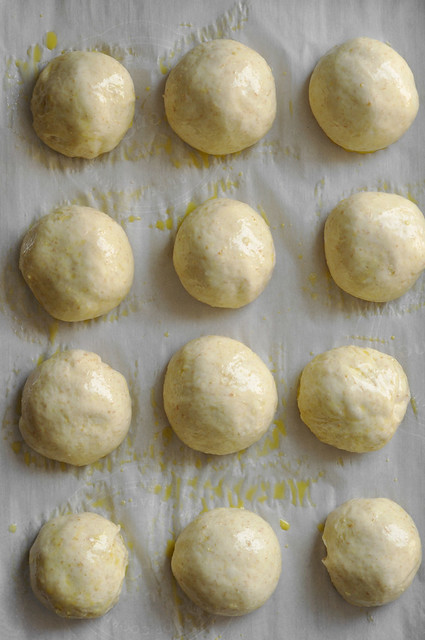
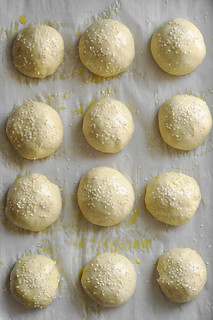
Much like any other bread, we’re going to give these buns an egg wash. Brush the rolls liberally.
**Tip: You can whisk an egg with a splash of water and brush the buns with that. However, whenever I need an egg wash, especially with these buns, I like to only use the yolks. So I whisk together two yolks with a splash of water. I find that by only using the yolks, it gives the buns a shinier and browner crust. If that makes sense. Try it for yourself!**
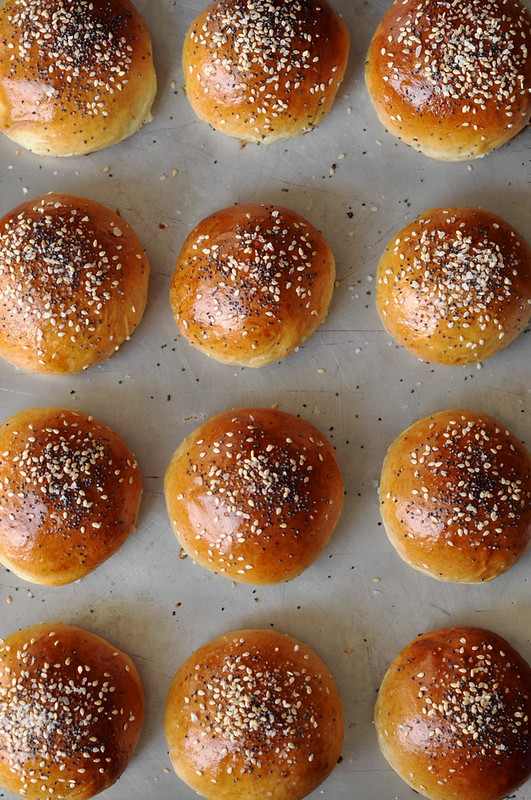
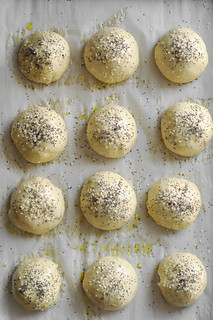
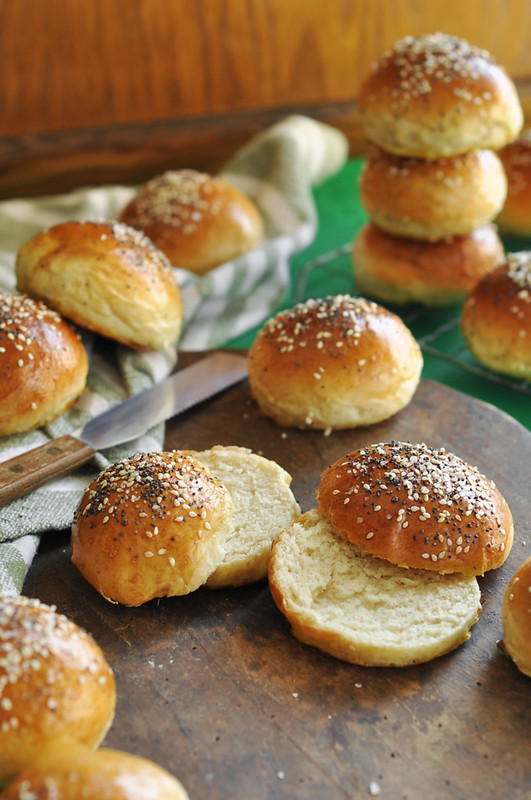
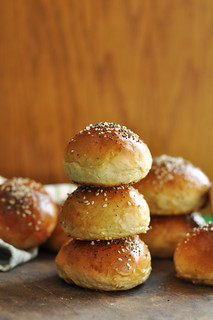
You can bake the rolls off now, just like this. They’ll be brown and shiny and delicious. I could’ve done that yes, but that would’ve made this post boring, and I don’t want to bore you guys. I don’t do boring or plain or bland. SO we’re going to jazz them up with a few yummy ingredients. Sprinkle the buns liberally with sesame seeds, poppy seeds, sea salt, granulated onion and granulated garlic. Just like EVERYTHING BAGELS! The name makes sense now right?
**Note: If you don’t like any one of those ingredients, just use the ones you like. No one needs to know.**

Bake the slider buns in a preheated 375º oven for about 14 to 16 minutes or until golden brown and shiny all around. You can also test the inside temperature with a thermometer which should register 190 degrees.
I would keep an eye on them after 10 minutes, depending on your oven, they might be done sooner or later. Keep checking them so that they don’t burn on you. I mean, you’ve gone through all that work and they look amazing so far, the last thing you want is to burn them. No bueno.
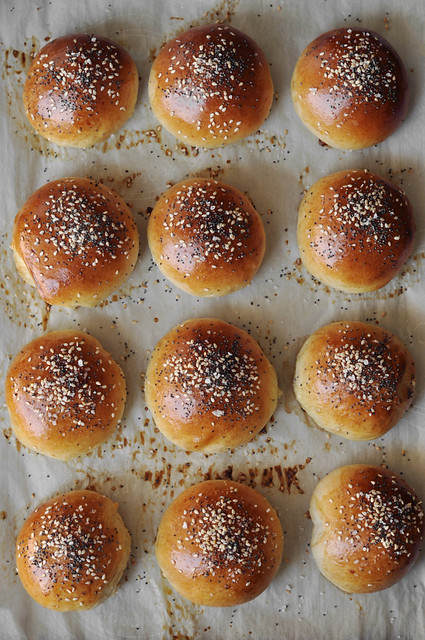
Transfer the baking sheets to a cooling rack and allow to cool down before eating. They might look and smell amazing and they might even be calling out to you but they need to cool down, believe me. They’re super dangerous right out of the oven, don’t get burned. Not that I would know. I’m just saying. You can eat them warm, which is what I did. And by them I mean, I practically ate them all IN ONE SITTING. I guess I should say in one standing because I really just stood over the baking sheet and ate them one by one. I have no regrets. Only that I should’ve made more.

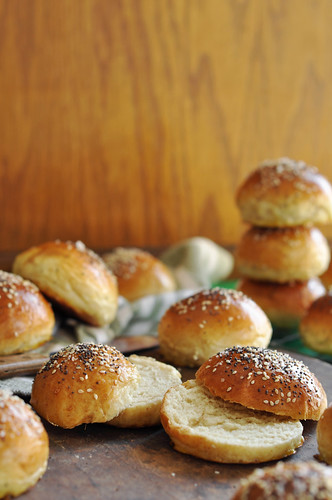
You can use these buns as intended, for sliders. Or if you’re not into small burgers (how could you not be?) you can definitely make the buns bigger, into normal sized buns and eat them with your favorite burger. The possibilities are endless, if you think about it. If you’re not planning on making sliders or hamburgers of any sort but still want to make these buns that’s okay too. Guess what? You can just call them rolls instead. Serve them alongside with dinner as rolls, don’t forget the butter! These are also great just to snack on by themselves. Mid-afternoon snack anyone?


These buns (aka rolls, wink wink) are really great to make in advance. That way you can have some ready to go whenever you want to serve fancy rolls with dinner. Or if you are ever in need of a slider or mini-sandwich bun. They sure beat using store bought rolls, and I’m not just saying that because I want you to try out my recipe. I mean yeah, of course I want you to try my recipe and yeah, I’ll say just about anything to get you to do it, but come on, do I really need to say anything? Nothing NOTHING beats homemade bread (insert evil laugh here), and this is as easy as homemade bread gets. I think the hardest thing I did was restrain myself while I waited for them to cool. That’s totally doable.

I don’t want to brag about the fact that I made this bread completely by hand. No machines for mixing and kneading were used. I don’t want to brag, but I think I should brag. Who am I kidding? I think it’s pretty awesome that these buns are easy enough to make by hand. Especially since I’m the laziest person you’ll ever meet. I was tempted to just dump the dough into my mixer and let it do all the work and just say that I made it by hand, but that wouldn’t be fair or honest. Also my mom would disapprove. So I got up and plowed through it. I must say that the results were amazing. I might start doing everything by hand from now on…….kidding! Yeah right. What am I, an animal?! Make these buns though, pronto!
[print_this]
(Everything) Slider Buns
These buns are the perfect accompaniment to any and all burgers. With all the same flavors of your favorite everything bagels. What’s more, they are easy to make and delicious to eat just by themselves with butter (of course). We can’t forget about the butter. Make them full-sized for the perfect hamburgers or into mini buns for party sliders. I don’t really care what size you make them or what you make them for, just make them! Make them right now! Print the recipe and relish in the magic that is fresh homemade bread.
yield: 12 large burger buns or 24 small slider buns
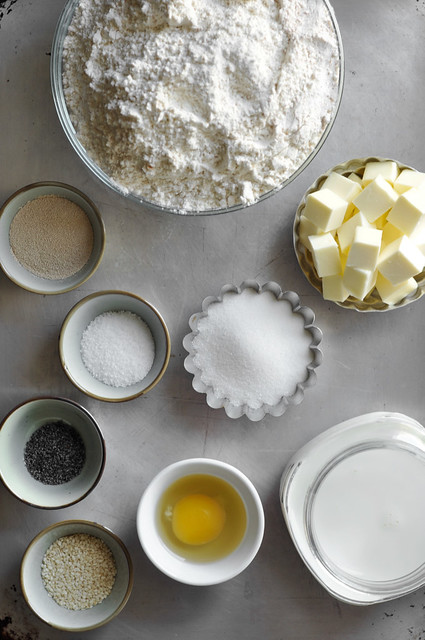
Ingredients:
- 1½ cups whole milk
- ½ cup (1 stick) unsalted butter, diced
- 4½ teaspoons (2 packets) active dry yeast
- 4 cups all-purpose flour, plus more for dusting
- ¼ cup, plus 1 tablespoon granulated sugar
- 1 tablespoon salt
- 2 egg yolks, whisked with a splash of water
- 2 tablespoons sesame seeds
- 2 tablespoons poppy seeds
- 2 tablespoons sea salt
- 2 tablespoons granulated onion
- 2 tablespoons granulated garlic
Preparation:
1. In a small pot, combine the milk and diced butter. Heat over low heat until the butter has melted. Remove from heat and allow to cool down slightly. It should be warm but not too hot, between 105° to 115°F. Sprinkle in the yeast and stir to dissolve. Allow to rest in a warm place for about 1o minutes, until foamy and frothy. I like to place the bowl in an oven that is turned off. Note: If the yeast doesn’t foam or froth, toss the mixture and start again.
2. In a large mixing bowl (or in the bowl of a stand mixer) stir together the flour, sugar and salt for a few seconds, until combined. Add the milk/yeast mixture and stir with a wooden spoon (or dough hook, if using mixer) until the dough is somewhat smooth and elastic, about 4 to 5 minutes. Transfer the dough to a lightly floured work surface and continue to knead by hand until the it is soft and completely smooth and elastic, another 3 to 5 minutes. (If you are using a stand mixer, just knead the dough on high for 3 to 5 minutes until it pulls away from the sides and is soft and smooth). Shape the dough into a ball and return to the mixing bowl that has been oiled. Turn it over to coat both sides and wrap tightly with plastic wrap. Place a damp kitchen towel over the bowl and allow to rest in a warm place for 1 hour, or until doubled in size.
3. Line two baking sheets with parchment paper. On a lightly floured work surface, roll out the dough into a 9 inch square and cut into 24 even pieces (if making large buns, cut into 12 even pieces). Roll the dough pieces one by one into a tight ball, between your palms or on a surface. Place the dough onto the prepared baking sheets, spacing them out evenly to allow room for spreading and baking. Cover the baking sheets tightly with plastic wrap and cover with a damp kitchen towel once more. Place in a warm spot and allow to rest for about 30 minutes, or until doubled in size.
4. Preheat oven to 375°F. Brush the rolls with the egg wash (egg yolks whisked with a splash of water) and sprinkle each, liberally, with sesame seeds, poppy seeds, salt, granulated onion and garlic. Bake for about 14 to 16 minutes or until golden brown and shiny or until their internal temperature reaches 190°F. Transfer the buns to a wire rack and allow to cool completely. Cut in half and use as burger buns or serve as dinner rolls. Can be stored in an airtight container or plastic bag at room temperature for up to 1 week. Enjoy!
[/print_this]
Totally brag – making bread is hard work! This is perfect, I am having both sides of the family over for dinner and am making Joy the Baker’s shredded beef sandwiches. I am thinking these will take the place of my regular roll recipe, they look wonderful. Thank you so much! <3
thanks for this, Jonathan. I’ve been looking for just this kind of recipe for slider buns. I don’t mind making my own bread. Some commercial breads use weird (rubber, plastic) as dough enhancers, which can be toxic, so I stay away from them. Plus, as you say, homemade breads taste much, much better. I agree with you: it’s really not that hard or time-consuming (I knead the dough while watching the evening news hour in my kitchen) once you learn the basics. Other benefits of making your own bread: you save money; good exercise for hands, wrists, and fingers; nothing like the scent of baking bread from your kitchen. Thanks again, and keep up the great work …. especially the photography (do you take the pictures yourself?)
Thank you so much Linda! I actually do take the photographs myself. I got my degree in photography!
I can’t wait to try this!! These buns look marvelous! Wonderful photos too!
Love your step by steps… Makes me want to get it together and get down with some slider bun making action..
I love how golden and airy these look!!!! I am either an everything bagel or pumpernickel bagel. Cannot go wrong! Baking your own bread is such a labor of love. I totally feel calm and centered when I am making bread….. maybe that sounds crazy, but it is true.
Just so you know much to your dismay I did use the bread machine and dumped the ingredients into the bread pan and the final rolls were absolutely outstanding. Hot and right from the oven they are a pure bit of perfectness. Thanks for making this recipe for total enjoyment
Even have a picture :O
These buns look beautiful! I love the color on the tops.
I made a batch of these this weekend and they were divine! Actually I was looking for a richer, more brioche-like burger bun recipe and I was skeptical with this one since you don’t use eggs in the dough but they turned out really nice and buttery. I will definitely make them again.
Thanks a lot for not using egg on the dough as we are complete vegetarians and I love baking but fail to do much because of being a pure vegetarian.
Today I am trying out your recipe .
thanks again
I’m going to try this recipe out tomorrow for Fourth of July burgers. Great pics.
Hi, this looks like the perfect recipe, is it possible to make these ahead and freezes them?
would I cook them and then freeze them or make the dough and freeze the dough?
I have a very large party for Christmas and I dont think ill have time to make them fresh!!
Thank you
Hi Kristie! Of course! I freeze them all the time and the freeze well. I always bake them, let them cool completely and then pop them in a freezer food storage bag. Then just thaw in the fridge overnight and rewarm in the oven!
Made these buns today. Excellent recipe.