
We are so often told that if life hands us lemons we must make lemonade. I agree with the saying. Lemonade is actually very delicious on a hot summer’s day, loaded with ice, perhaps with a few raspberries thrown in and drunk through a straw while we lounge and someone fans us and feeds us grapes. It hits the spot and allows us to cool down. It helps us fight the blazing summer heat. But what do we do with those unwanted lemons—that life has so graciously thrown at us—during the winter? When it is extremely cold and we do not want icy cold lemonade, what are we supposed to do with the lemons then? I do not think the people who made up the saying thought this one through completely. They cannot expect us to make cold lemonade when it is freezing outside. It’s not like we get to decide when life throws us these metaphorical lemons.
Well I’m here to change things. I say that when life hands us lemons during a cold winter’s day we slap life in the face, get in the kitchen, turn on the oven, and bake up a slew of lemon bars. We are writing our own saying and making up new traditions. Let’s pass this advice along and get the saying on t-shirts and mugs and what not. We will build it up and become famous in our own right. Lemon bars are actually just as easy to make as lemonade, and they both have one thing in common—other than their tasty deliciousness—the hardest step of each is squeezing lemons. So if you can handle a squish squish here and a squish squish there, then you are already halfway there. You are golden. You have this whole making of lemon bars in the bag.
What is it about the holidays that makes bars so appealing? Not just lemon bars, but bars in general, as a whole. Perhaps people make and eat them on a regular basis throughout the year, and I do not know about it. Maybe I’m just finding this all out now, and I am late in arriving to the bar making party. I however, do not get a craving for them until December. Maybe Thanksgiving, but that would be pushing it. Which means that everyone must think the same way I do right? Perhaps it’s because they are so reminiscent of pie, with their delicious crust at the bottom and everyone knows pie is the holiday dessert of choice. Perhaps it’s because they are so easily giftable (Look at me, I’m making up words here)? Or maybe it’s even because they are ridiculously easy to make and even easier to eat, just grab and go. Either way, whatever the reason might be, bars are fun to make during the holidays. I will even go on record to state that they taste better during the holidays. It’s a proven fact. You can quote me on that. Jonathan said that bars taste better during the holidays. Now I know what you must thinking, “How can you state this as a fact?” But never you worry, I have conducted various, intricate, and precisely planned out research to back up my statement. It mostly involved me eating large amounts of bars. It was very tasty research to say the least. So you heard it here first, folks. When life hands you lemons during the holidays, ditch the lemonade and make yourself lemon bars. It’s a new thing. It will catch on in no time.
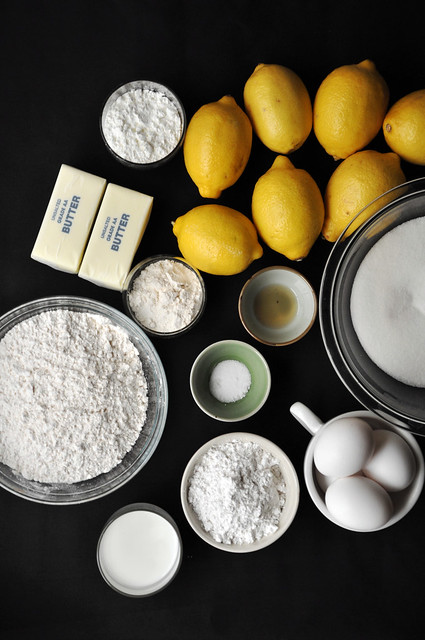
We start by making the crust, which we all know is the best part of any pie, bar, square or tart.
It’s what makes the entire dish, so we have to make sure it’s really good.
Before we get started on the crust, let’s prepare the pan. You could just butter and flour it and cross your fingers that the bars will come out smoothly.
Or you can line your pan with parchment paper and skip the finger crossing.
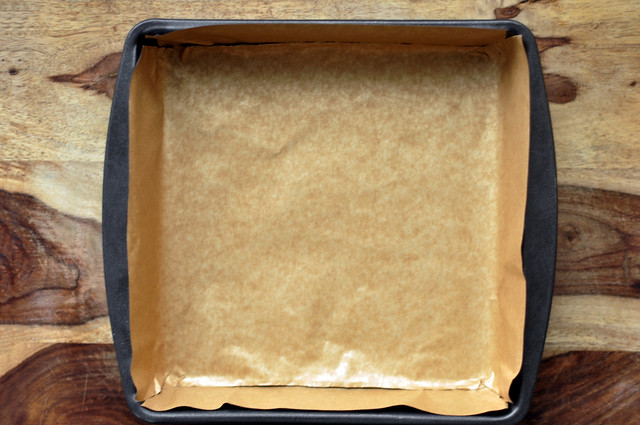
Just make sure that the parchment paper comes up the sides, that way you have something to grab and lift the bars all in one piece. Making it easier for you to cut, serve and eat.
As it is, lemon bars have a tendency to be gooey and fragile when just baked, so we need every bit of help we can get to make sure they don’t break or crumble.
Okay so you lined the pan, which incidentally you’ll need to 8-inch square pans or a 9×13 pan. I like to use two square pans, just because, no reason in particular. After you line it with the parchment paper, spray the pans with baking spray. This will ensure that they don’t stick at all.
Now we can start the crust.
You can do this by hand. It’s the easiest recipe ever, but I use the mixer with the paddle attachment. Surprise, surprise.
Throw in the flour.
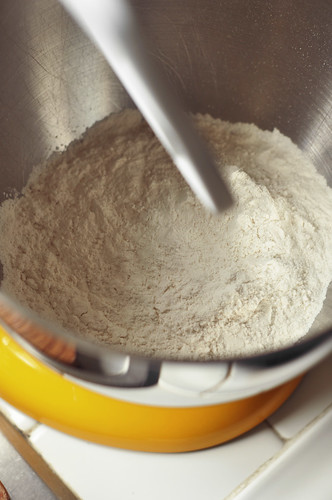
Add the powdered sugar, or confectioners’ sugar if you prefer to call it that. It’s all the same.

You’ll also need some cornstarch. Just a tad.
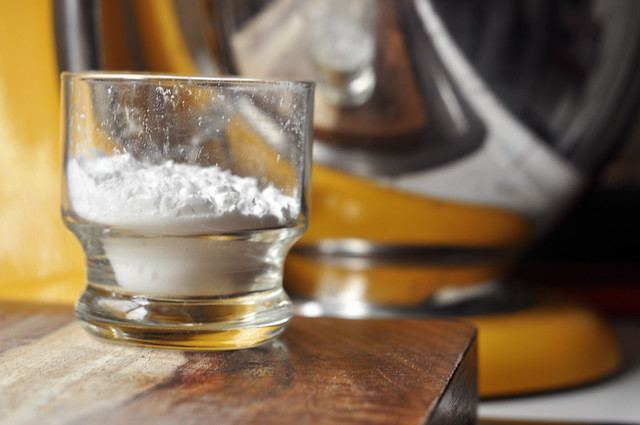
And a bit of salt, which is always essential when it comes to baking. Don’t skip it.

And that’s all I wrote.
Those are the dry ingredients for the crust.

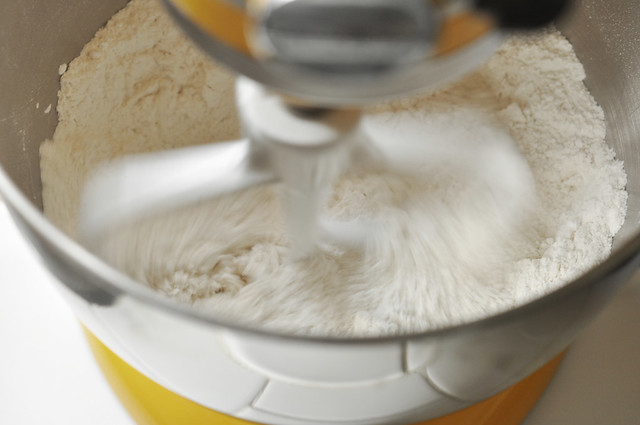
Give it a mix.
Don’t start the mixer on high, or else you’ll end up with one huge mess.
Just mix it on low. Let’s play on the safe side, where it’s nicer.
Now it’s time for the butter.
Yes butter.
Butter makes everything better, especially crusts.
Make sure it is extremely cold butter, and dice it up.
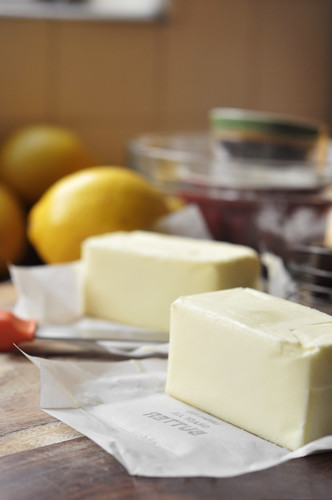
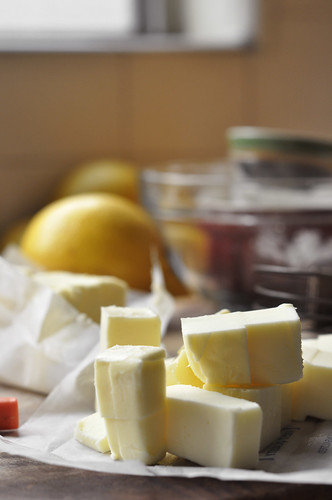
Stop the mixer, add the butter, and start it back up.
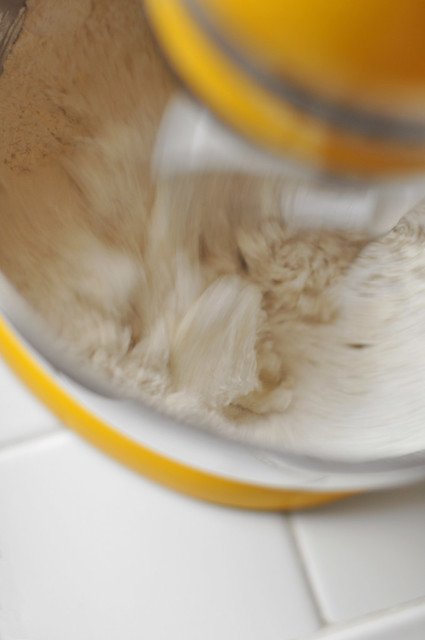
Cut in the butter until it breaks down and the mixture resembles course crumbs.
You can do the squeeze test to see if it’s ready. Grab a handful of the crumbs.
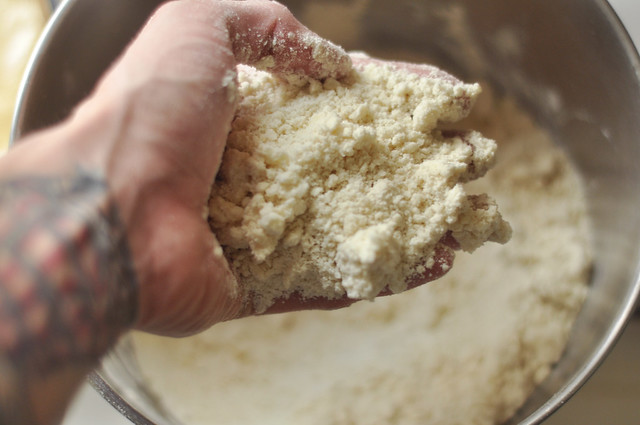
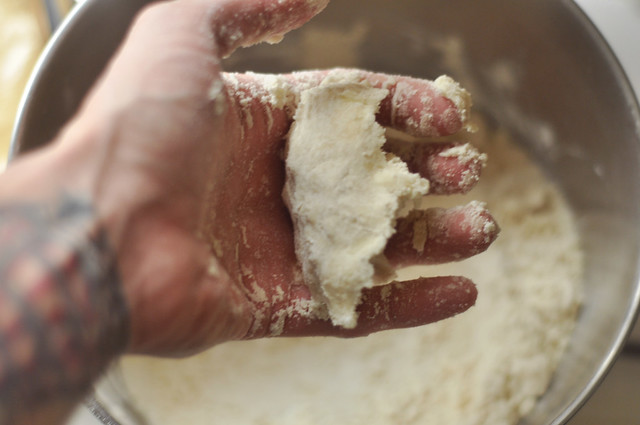
Squeeze it!
And if it holds together and isn’t dry, then it’s ready.
Dump the crust crumbs into the prepared pans.

Using your hands, the best tools you own, pat down the crust.
Make sure you spread it out evenly, and flatten it out properly.
**Tip: You can use the back of a spoon or the bottom of a measuring cup to do this, if you want. Really though, the best way to go about it is by using your hands. It’s easier, faster and a lot more fun. Get dirty with your food.**
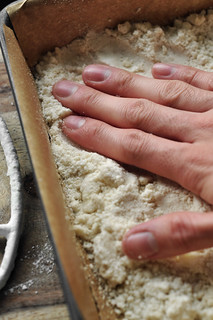
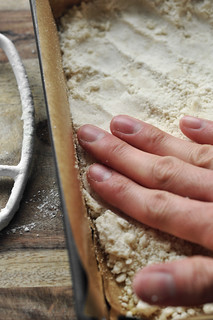
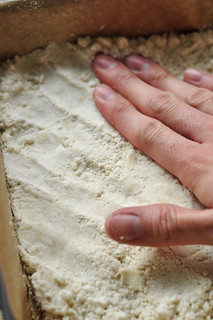
If you are using two 8-inch square pans, then divide the crumbs between the two pans and flatten them out. If you are using the one 9×13 inch pan then just dump all the crumbs into the one dish and flatten out the crust.

Place the crust in the refrigerator and allow it to chill for 30 minutes. This is crucial to allow the butter to get cold. Cold butter equals flakier crust.
After 30 minutes, bake for about 20 to 25 minutes or until golden brown.
While it bakes, make the filling.
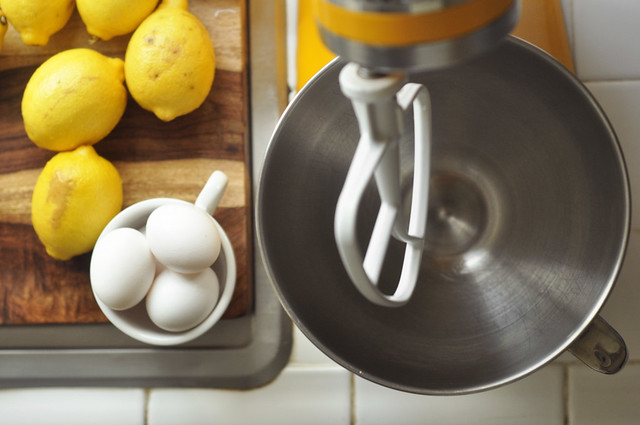
We start the filling very simply, with eggs.
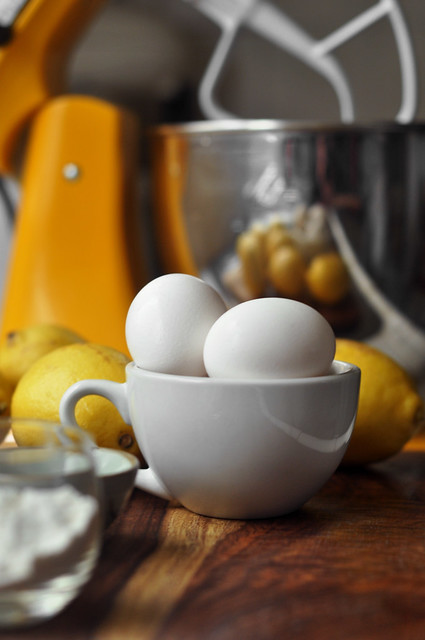
Crack four eggs into the bowl of an electric stand mixer, fitted with the paddle attachment.
You could also make the filling by hand, but it would be a lot of mixing. Sounds tiring huh? I’m tired for you.
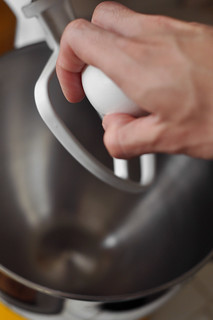
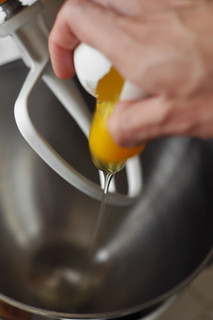
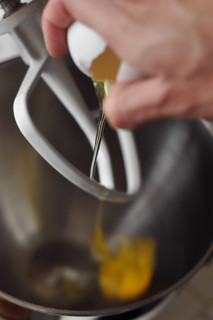
There, all the eggs are in.
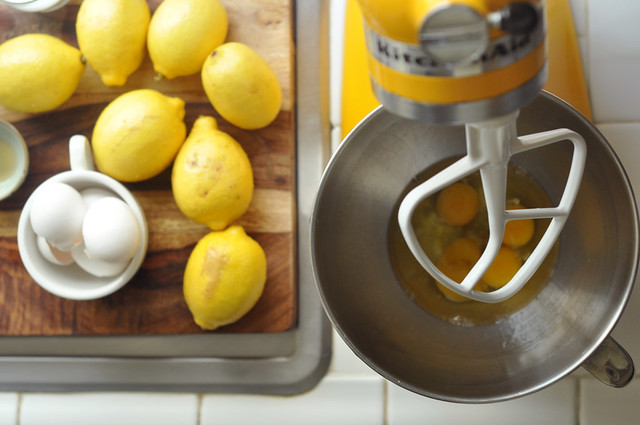
Add the granulated sugar.
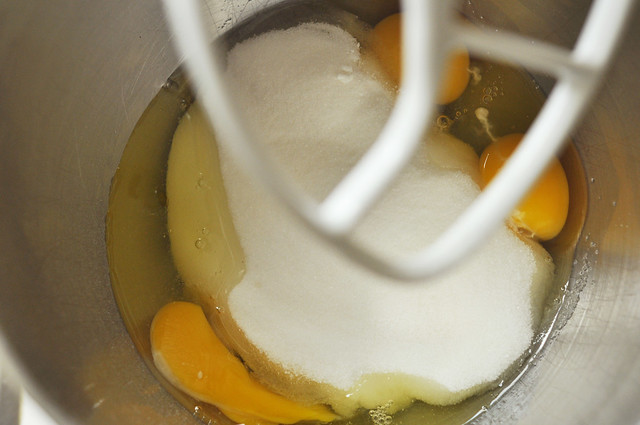
Give it a mix.

Toss in the flour.
It’s only a minuscule amount of flour so you might be thinking, “Why should I even add it?” But the flour is essential. It helps thicken the filling slightly, and gives it a nice texture.
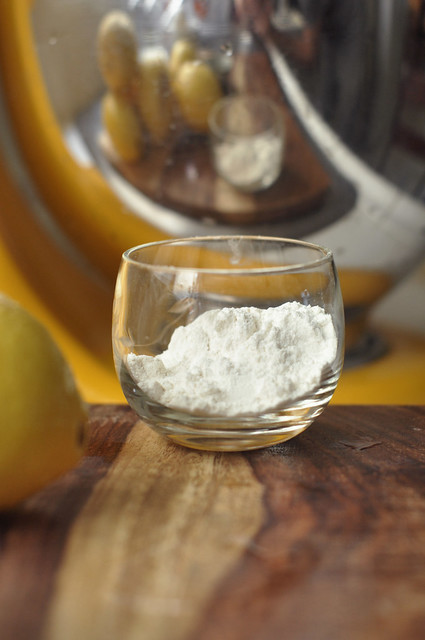
After the flour has been added, continue to mix.
Turn the speed up to high.
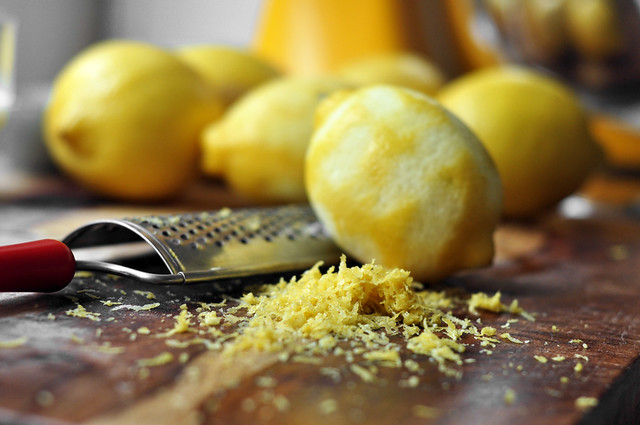
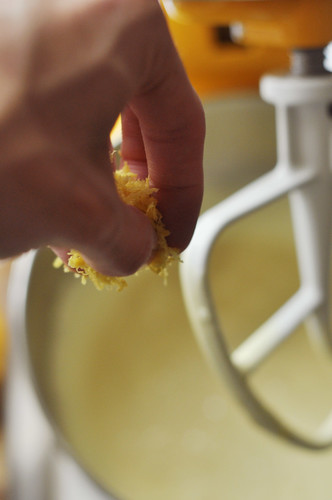
In the meantime, zest a few lemons.
By adding freshly grated lemon zest, you are giving the filling another level of lemon flavor.
Make sure to only zest the yellow skin and do not grate into the white pith part of the lemon, that tends to be bitter and if you add it to the filling, you’ll have a bitter lemon taste in your bars, and that’s not good.
Forget about the zest for a bit and turn your attention back to the mixer.
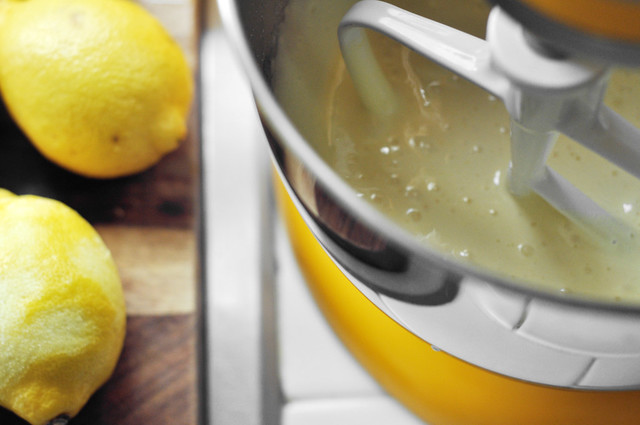
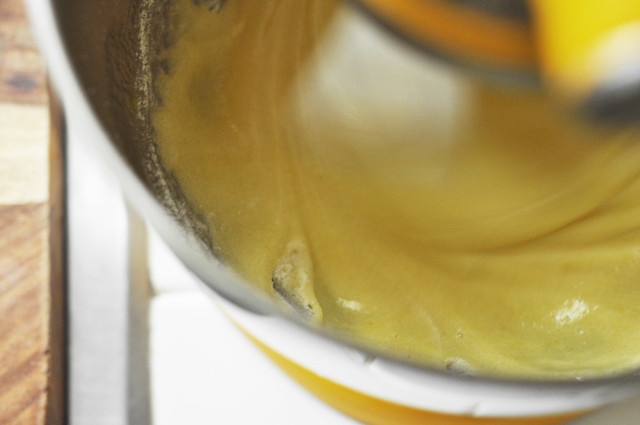
Before you can add the lemon flavorings you need to make sure the filling is very thick and light in color.
Continue to whip on high until the filling appears to be thick and pale.

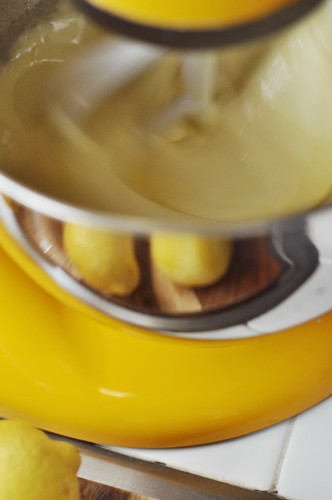
You’ll know it’s ready when it looks like this…
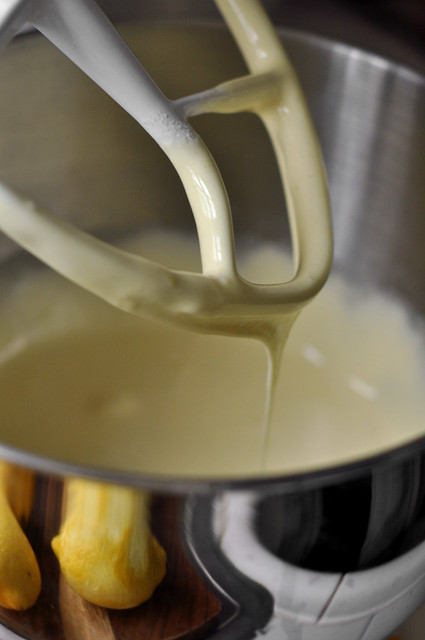
You can now throw in the grated lemon zest.
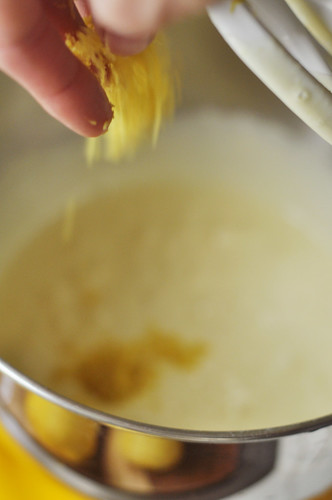
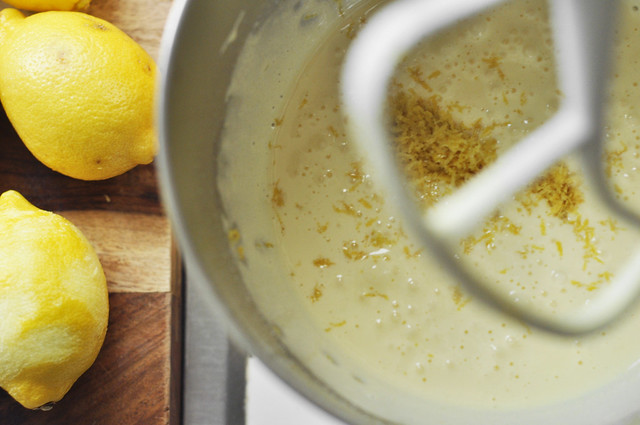
The next ingredient, which is probably the most important ingredient of this whole dessert, and the ingredient that I’m sure you’ve all been waiting for, thinking “When is he going to add it?”
Well, you can all let out a collective sigh because it is time to add the fresh lemon juice.
Fresh squeezed please.
Which means you need to cut a bunch of lemons in half.
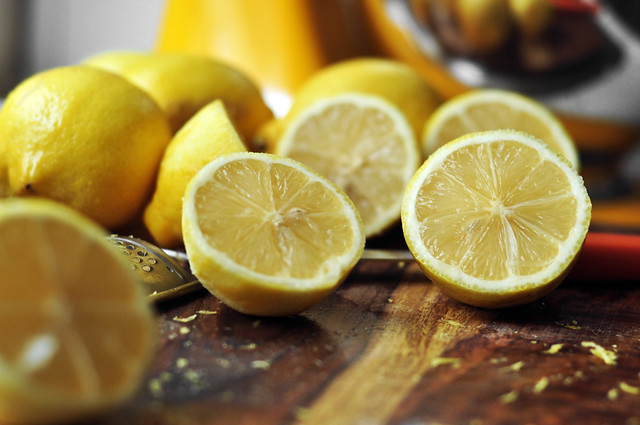
Now listen to me closely, in no way, absolutely no way are you to use bottled lemon juice. You shouldn’t really ever use it, but definitely don’t use it in this recipe.
That stuff isn’t fresh and has a weird taste.
Squeeze your own lemons. It doesn’t take that much to do it.


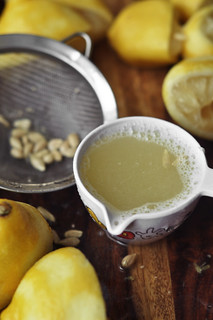
Throw the juice into the whipped filling.
If you were careful enough to catch all the seeds as you squeezed, then you are okay. But if you see a few seeds in the juice, just strain it with a small sieve as you pour the juice into the filling.
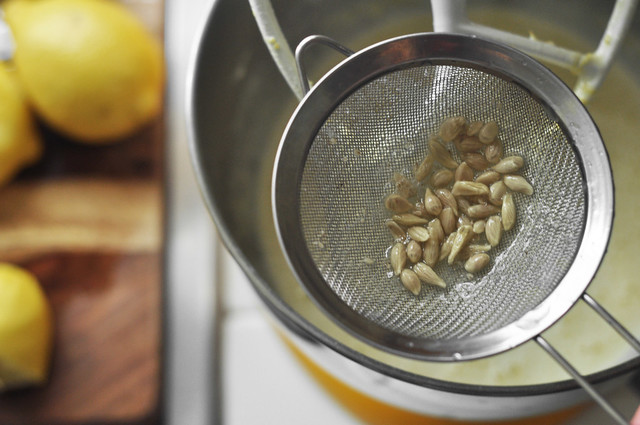
So I didn’t do a good job about catching my seeds as I squeezed. Don’t judge me.
You just need two other ingredients before you can continue.
Milk.
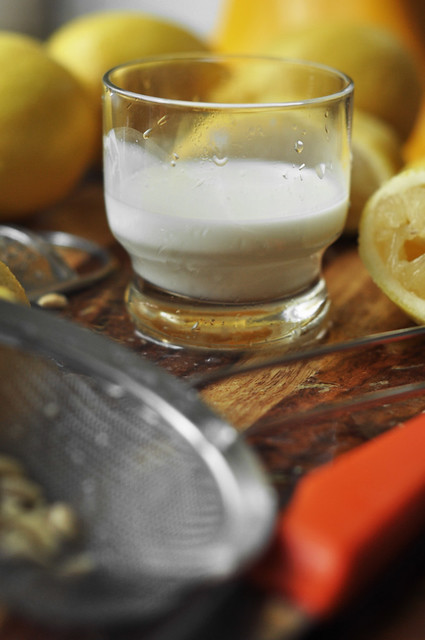
And lemon flavored liqueur.
If you are not keen on using liqueur to bake or cook, then you can just omit it. It’s not a big deal at all and isn’t absolutely necessary. But if you have some on hand, or want to take these to the next level, then by all means, add it.

Aaaaand turn on the mixer and whip until all the ingredients are combined and the filling is completely smooth.

Hey, do you remember our crust? Last we heard of it, it was baking. It should be done by now.
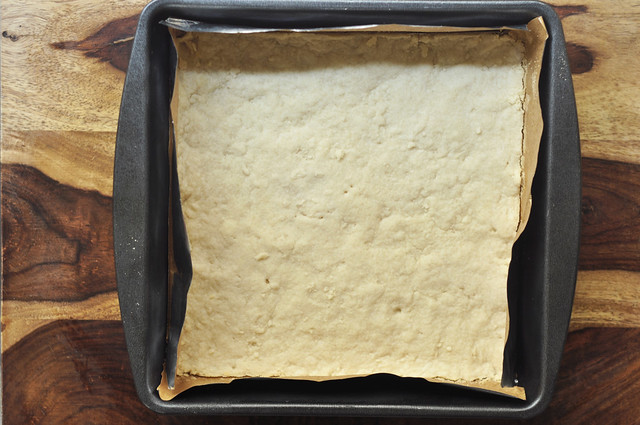
The best part of this recipe is that you do not have to wait until the crust cools to throw in the filling!
I just saved you about 20 minutes worth of idle waiting. You’re welcome.
Pour the filling over it!

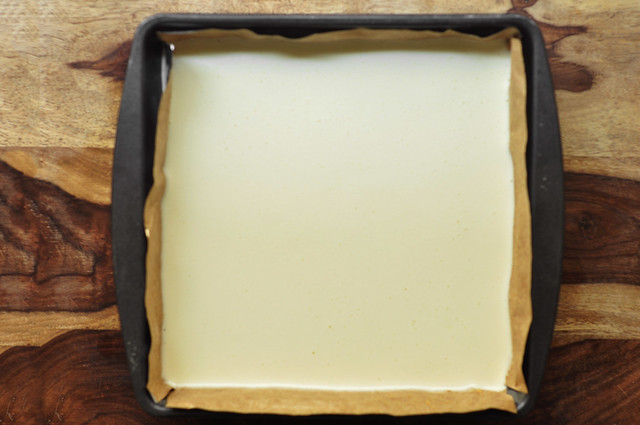
Throw it back into the oven and bake for another 20 to 25 minutes, until the filling has set.
Do not forget that the pan is hot, it just came out of the oven so be careful.
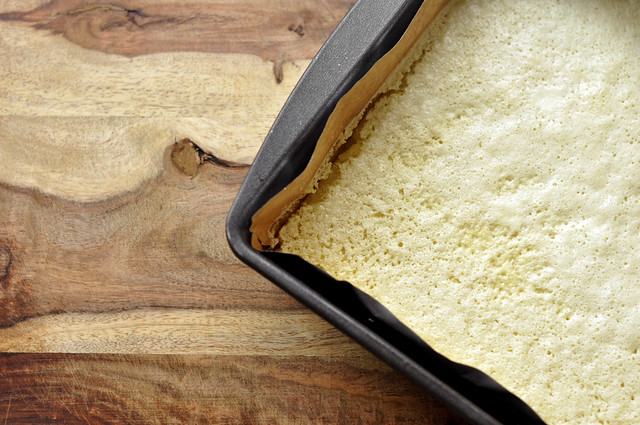
Once the lemon bars are baked, remove the pans from the oven and allow to cool completely.
If you followed my instructions then just pull on the parchment paper flaps. Lift it out of the pan.
Super easy.
Peel off the paper and place the lemon square on a cutting board.
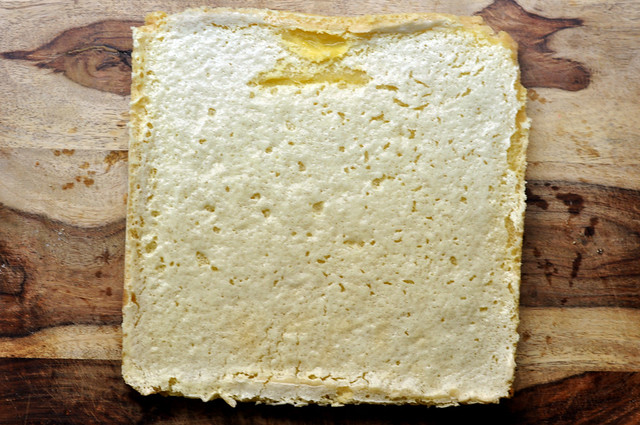
What I’m about to show you is the easiest way to cut your lemon bars. It’s also the best way to ensure that you get even pieces.
Cut down the middle so you end up with two even pieces.
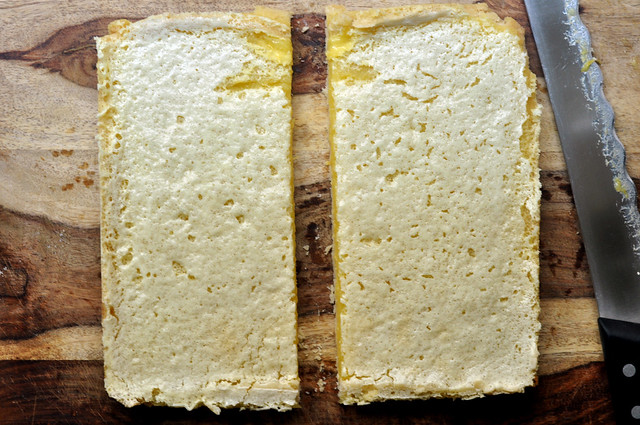
Then cut each half in half, so you have four even pieces.
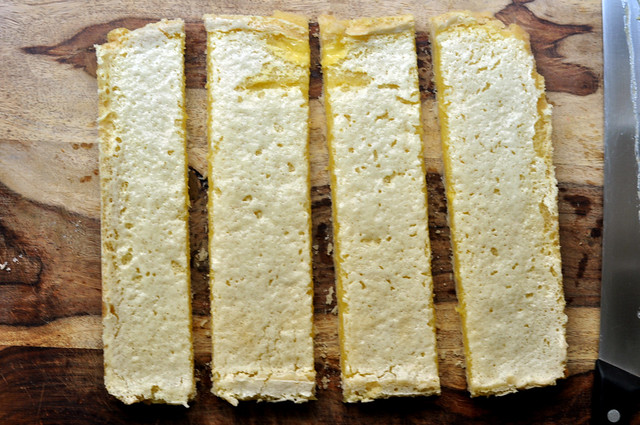
And lastly, make two slits right down the middle so you have twelve bars.
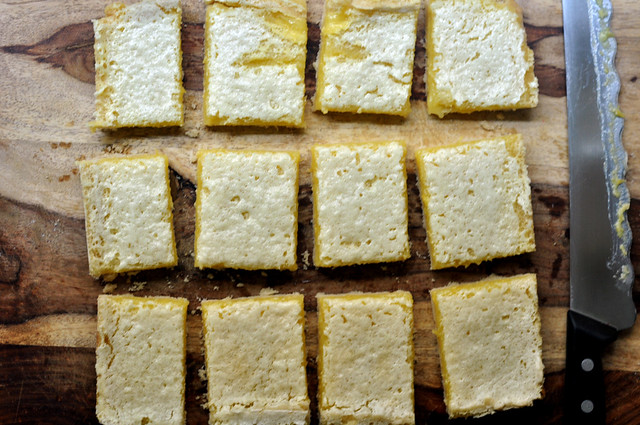
There you go, you have just cut your lemon bars evenly.
Don’t mind mine, I didn’t do such a good job on cutting them evenly.
In the end it’s all about taste and flavor anyhow.

At this point we are done, you could reach in and grab one.
Go ahead and eat away. However, and this is a big however, we’re missing the most famous lemon bar step.
Lemon bars always have a dusting of powdered sugar. Always. Or at least the bars I’ve seen.
So I’m going to dust mine with powdered sugar, and I think you should do the same.
Let the powdered sugar snow fall down.
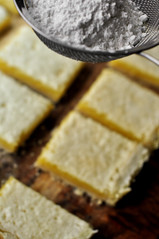
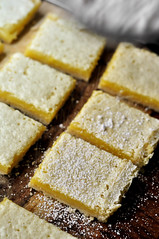
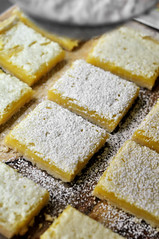
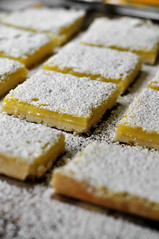
And now we are officially done. You can reach in and grab one. Eat away. This time I mean it.
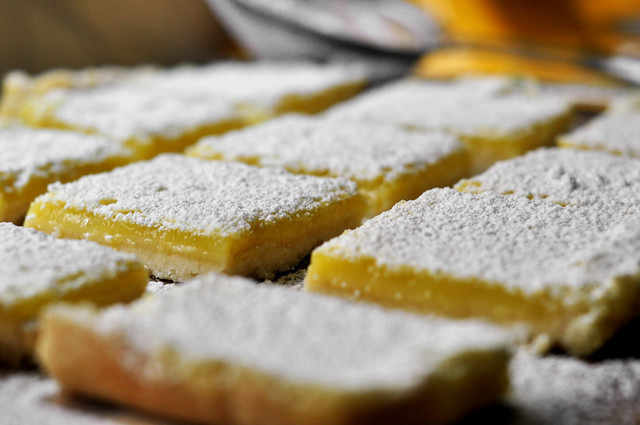
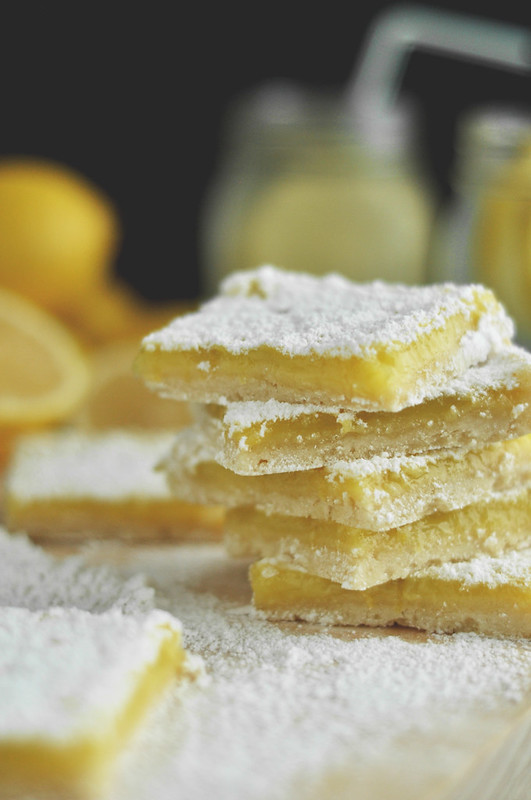
Look at that, they’re bakery quality and look oh so professional. We have the powdered sugar to thank for that. Powdered sugar always makes everything look professional.
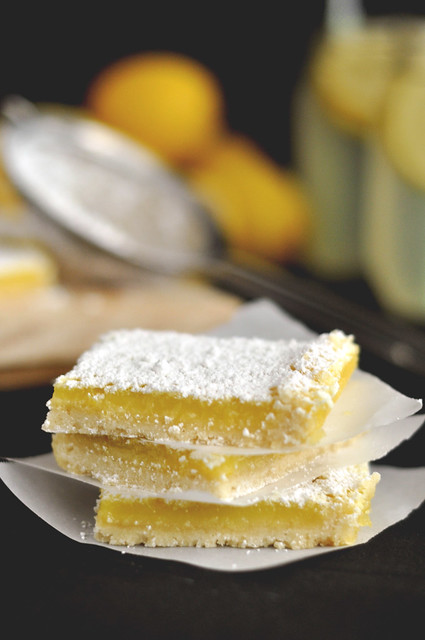
I like my lemon bars cold for some reason, so after I dust them with the sugar, I place the tray in the fridge for a bit to allow the bars to chill. I find that they hold better when they are slightly cold.
They’re best if they are stored in the refrigerator so either way place them in there and then you can let them come down to room temperature, if you wish, when you are ready to eat the lemon bars.
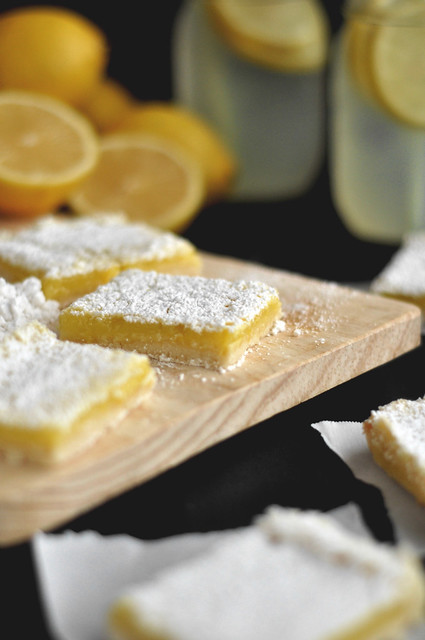
I use have this misconception that lemon bars are extremely difficult to make. It wasn’t until I actually made them that I realized how super easy they are to make.
You just mix, pat, bake, whip, pour, bake, cool, dust, cut and eat. Simple right?
[print_this]
Lemon Bars
yield: 24 bars, 2 8-inch squares or 1 9×13 inch rectangle
Ingredients:
- 12 tablespoons (1½ sticks) cold unsalted butter, diced
- 1¾ cups, plus 3 tablespoons, all-purpose flour
- ⅔ cup powdered (confectioners’) sugar, plus more for dusting at the end
- ¼ cup cornstarch
- ¾ teaspoon salt
- 4 eggs
- 1⅓ cups granulated sugar
- 1½ teaspoons lemon zest, about 2 lemons
- ⅔ cup freshly squeezed lemon juice, about 4 lemons
- ¼ cup whole milk
- 2 tablespoons lemon flavored liqueur, optional
Preparation:
Line two 8-inch square baking dishes or one 9×13 baking dish with parchment paper. Let about an inch of paper hang on either side, this will allow you to easily pull out the bars once they are baked and cooled. Set the pan(s) aside.
In a large bowl of a stand mixer, fitted with the paddle attachment, combine the 1¾ cups of flour, ⅔ cup powdered sugar, the cornstarch, and ¾ teaspoon salt. Turn the mixer on low, to avoid the flour flying everywhere, and mix until evenly combined. Add the diced cold, very cold, butter into the dry ingredients. You can use two forks, a pastry blender, or the mixer to do this. Try not to use your hands as the heat that you generate will warm up the butter, and we want cold butter. I use the mixer and it works perfectly. Cut in the butter until it resembles course crumbs the size of peas. You’ll know it is ready when you squeeze the crumbs and they hold together tightly. Pour the crumbs evenly between the two baking dishes, if using, or the one 9×13 dish. Pat the crumbs down using your hands into a ¼ inch thick crust. Press it into an even layer and allow the crust to come up the sides slightly. Refrigerate for at least 30 minutes.
While the crust is chilling, preheat the oven to 350° F.
After half an hour, bake the crust until golden brown, about 20 to 25 minutes.
In the meantime, while the crust bakes, assemble the filling. In a large bowl of a stand mixer, fitted with the paddle attachment, whisk together the eggs and granulated sugar. Whip on high until the eggs have become thick and pale in color, about 5 minutes. Add the remaining 3 tablespoons flour, and lemon zest and whisk to combine. Stir in the lemon juice, milk and lemon liqueur if using, mix once more.
Once the crust is golden brown, remove it from the oven and reduce the temperature to 325° F. Stir the filling once again and pour it onto the warm crust. Bake until the filling is set (it doesn’t move when you jiggle the pan) about 20 minutes. Transfer to a wire rack and allow to cool completely. Using the excess parchment paper as handles, pull out the lemon bars gently and place on a cutting surface. Peel off the parchment paper. Using a serrated (bread) knife cut the bars into even squares. If you wipe the knife after each cut it will make the process easier and less messy for you. Dust the bars with powdered sugar for garnish and serve immediately. Place any leftovers in the fridge, wrapped in plastic wrap or stored in an airtight container for up to 3 days. Enjoy!
[/print_this]

This recipe looks delicious! I love how you included photos for each step, what a beautiful and creative blog! I can’t wait to try these out and offer them as Christmas favors.
Thank you very much!! I hope that it makes it easier for those trying out the recipes! I hope you try these very soon!
Wow! Such pretty lemon bars! I have about 30 lemons in my pantry from my lemon tree, I’ve been thinking about making lemon bars.
Thank you very much! I hope you tried this recipe out!
Those lemon bars look spectacular!
Thank you very much Ilan!!
Looove a good lemon bar! This looks awesome!
These are absolutely stunning.Your step by step pictures make it seem so easy.Now I can try them too.Thanks for sharing such a delicious recipe:)
Thank you very much! I’m glad that the pictures help, I include all of them in hopes that it makes the recipes easier to try out! Thank YOU for reading! I hope you try these out soon!
Oh my, delicious and spectacular! I love it!
Thank you
Anna (Spain)
Thank you very much Anna!!!
This is one of the best tutorials ever!!!!! Very nice pictures! I’m going to try this soon.
Thank you so much! I’m so happy to hear this! I hope you enjoyed these!!
I just made these lemon bars today and I have to say the pictures helped a LOT. Love love love the step by step style and the pinch of humour always makes everything ten times more fun. Best of all, they taste awesome! (:
Thank you very much!!!! Wow! I’m so happy to hear that the step-by-step images help out!! And I’m glad you get my sense of humor, not many people do! More over, I am most satisfied that you enjoyed the taste!!! Thank you for trying out the recipe! I hope you come back and try out more of the recipes!! 🙂
Hi I would like to make the lemon bars today, but I am wondering does it have to be whole milk? I typically get 2% milk.
p.s. Love the way you write! Just hilarious.
Hello Thank you for trying out the recipe! 2% milk will do just fine. It’s such a small amount that it wont make a difference. Please let me know how they turn out! And thank you for the compliment. As long as I can make one person laugh, then I did my job right.
It was successful even though my oven hasn’t been cooperating lately! But not as yellow as yours heh. Reminds me of the lemon meringue pie I used to make. So yummy! I ate 3 bars in one sitting *blush*
wow, your blog is beautiful!
Thank you very much! I hope you come back and try some of the recipes! Be sure to let me know how you like them.
Stunning pics, you’re making me want to really learn about food photography.
Delicious!!! Due to dietary restrictions had to substitute cornstarch with tapioca flour but they still came out perfect. This will be my go to recipe from now on.
Deliiiiicous! I’m sad that I halved the recipe because mine turned out a bit thin! I guess it also contributed that I hand mixed everything and was never sure if the texture was right/if I got enough air in there! Will definitely try the full recipe soon, but they taste so gooood!